Welcome to Ishine Online Shopping Store!

For all orders over £300 Except Vapes
If goods have problems
100% secure payment
Dedicated support
Support gift service
At iShine Trade, we are dedicated to providing top-notch wholesale products to meet the needs of retailers, resellers, and businesses in the UK. With a wide range of wholesale phone accessories, mobile phone replacement parts, electronic gadgets, and laptop accessories, we aim to be your go-to source for all your wholesale needs.
...At iShine Trade, we take pride in offering an extensive range of products that cater to the diverse needs of our valued customers. Our commitment to providing a comprehensive selection ensures you can find everything you need in one place, making your wholesale shopping experience convenient and efficient.
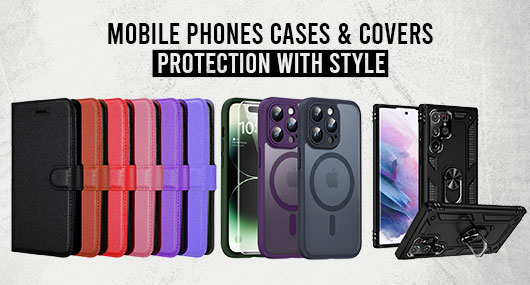
Enhance your customers' mobile experience with our wide range of Mobile Phone Accessories. From Wholesale trendy Phone Cases and covers to tempered glass screen protectors, chargers, cables, and wireless charging pads, we have everything to keep your devices protected and powered up.
Our collection includes a variety of styles, materials, and designs to suit different preferences and device models. This makes us one of the best mobile phone accessories wholesale suppliers in UK. You can even bulk-buy phone cases and accessories without putting too much pressure on your wallet.
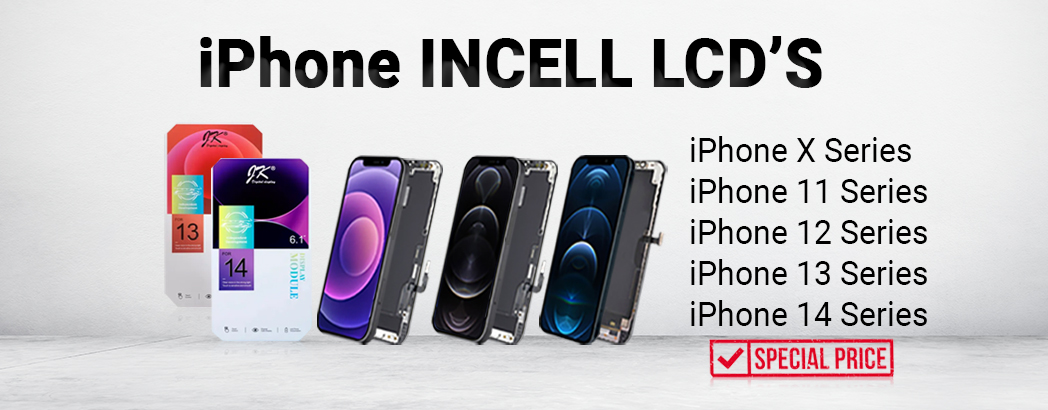
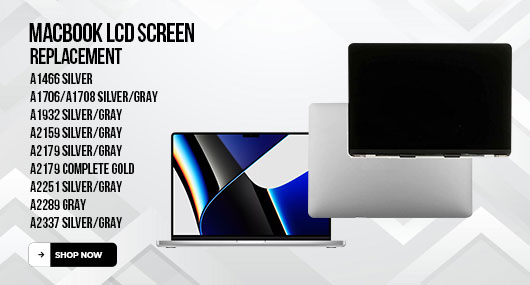
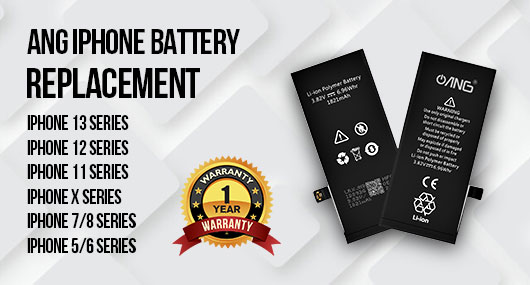
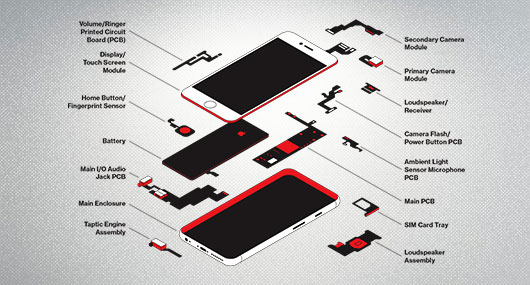
For those in the repair business, we offer a comprehensive range of replacement phone parts. From LCD screens and digitizers to batteries, flex cables, and camera modules, our high-quality replacement parts ensure reliable repairs that restore devices to their optimal functionality. We source our parts from trusted manufacturers to increase the device compatibility and performance.
Stay ahead of the curve with our range of electronic gadgets that are sure to capture the attention of tech enthusiasts. From smartwatches and fitness trackers to Bluetooth speakers, Headphones, and virtual reality headsets, our gadgets combine style, functionality, and innovation. Whether your customers want to upgrade their personal tech collection or find the perfect gift, our selection covers them.
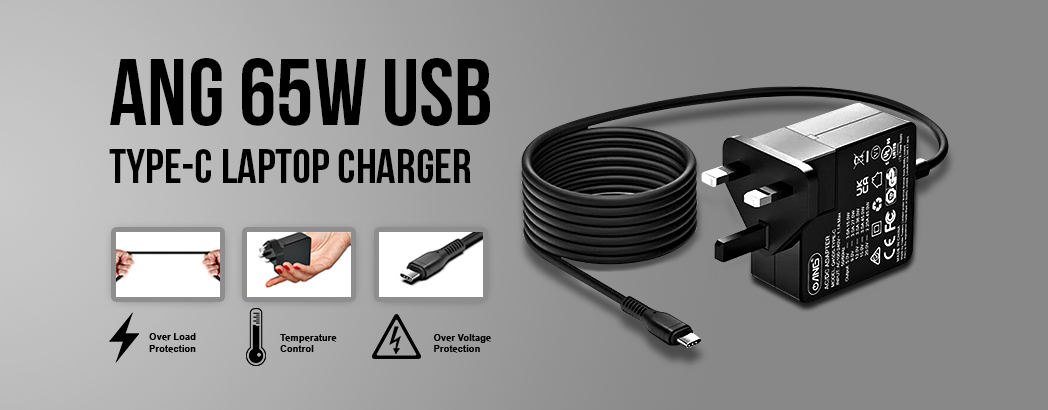
In today's digital age, laptops are essential tools for productivity and entertainment. We offer a variety of Laptop Accessories to enhance the performance and usability of these devices. Explore our range of laptop cases and sleeves, keyboard covers, screen protectors, docking stations, and cooling pads to provide added protection and convenience to laptop users.
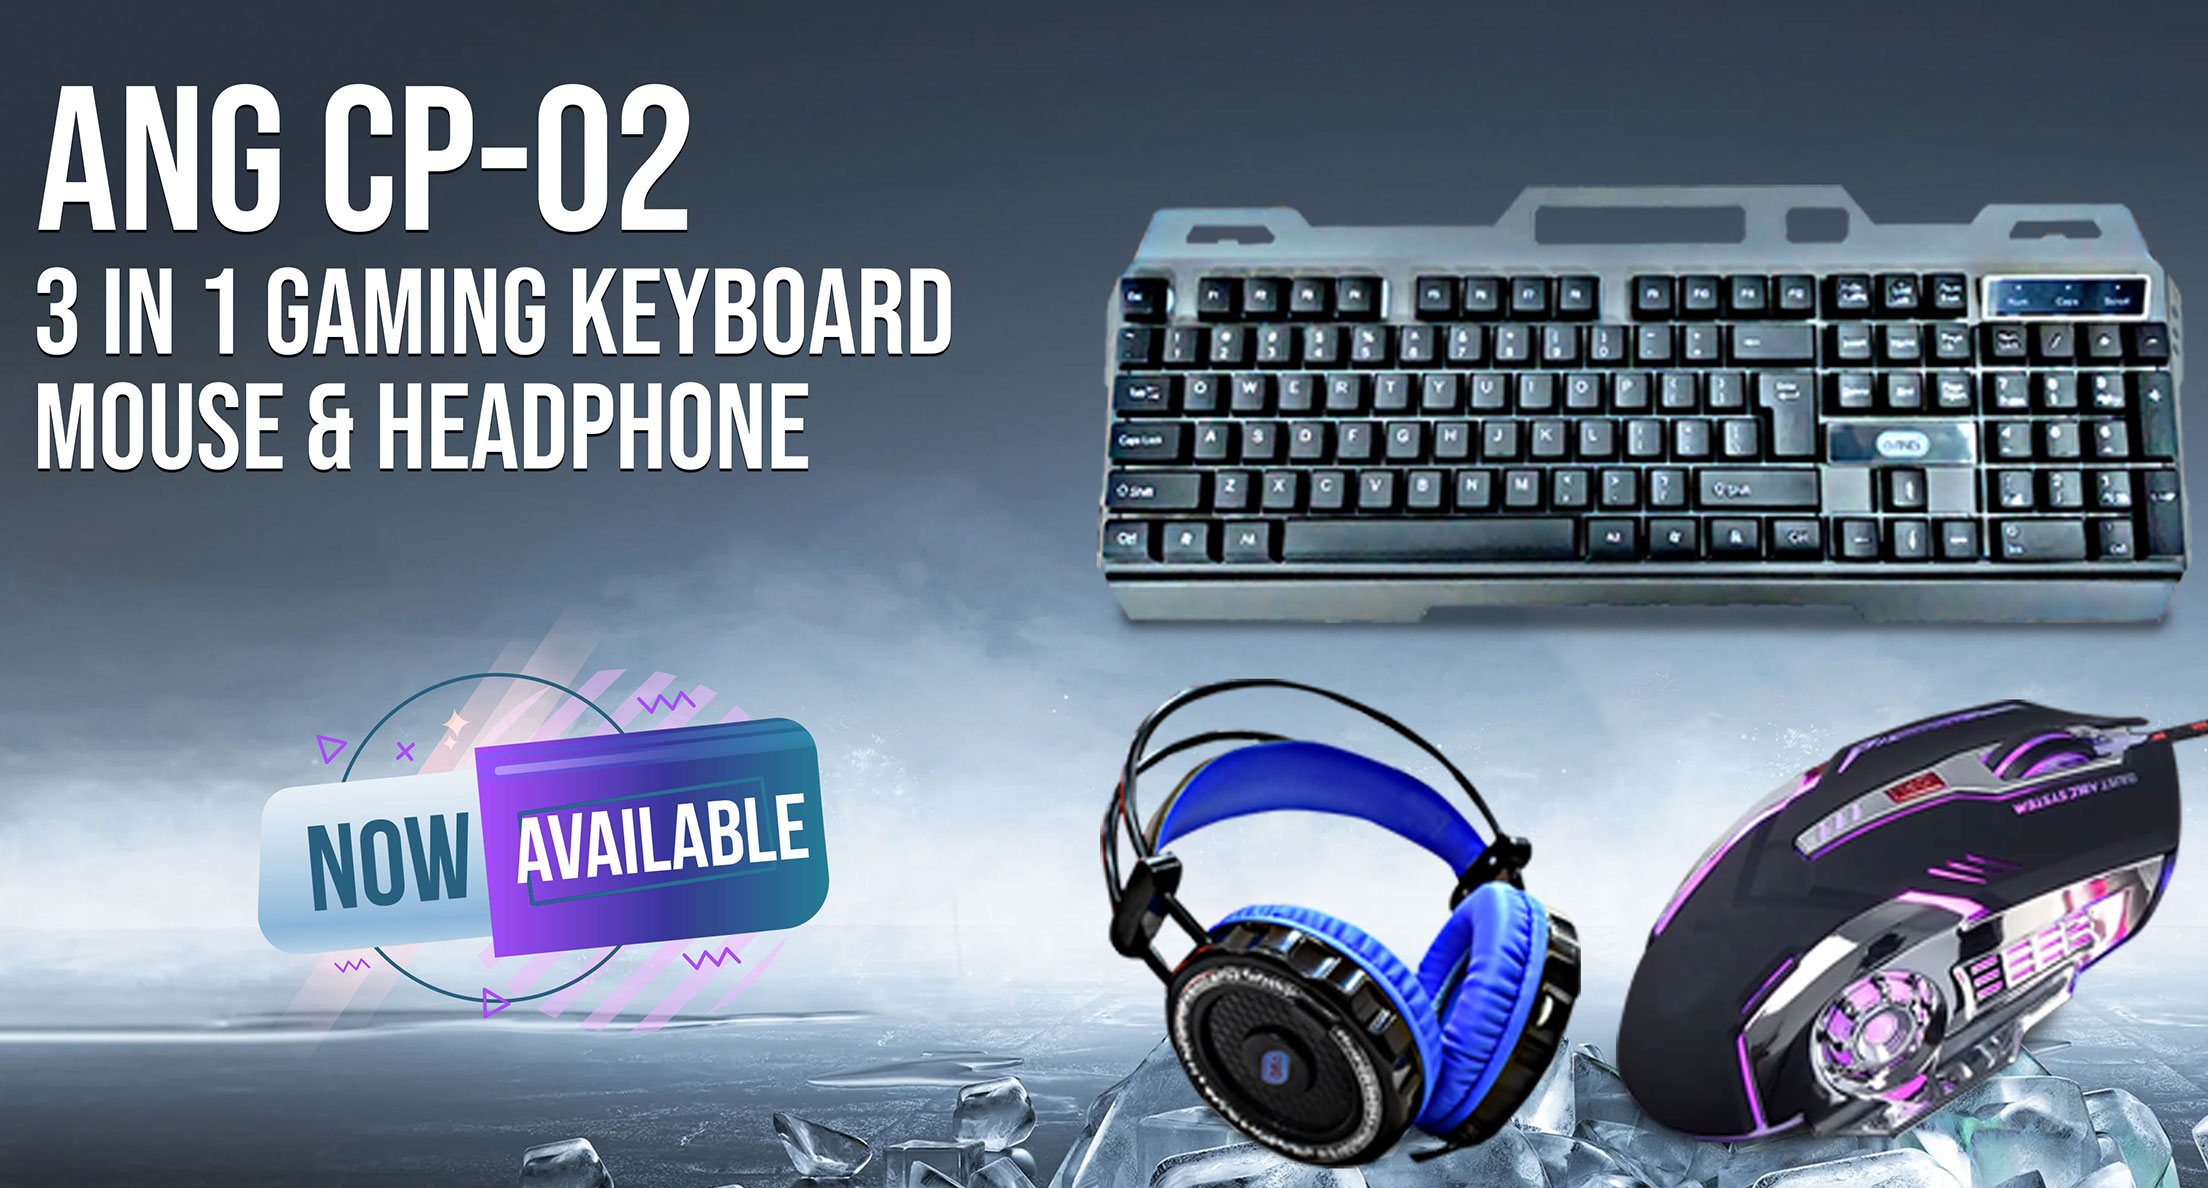
Gamers always look for accessories that take their gaming experience to the next level. Our gaming accessories collection includes game controllers, gaming headsets, RGB keyboards, gaming mice, and mousepads. These accessories enhance comfort, precision, and immersion, allowing gamers to unleash their full potential.
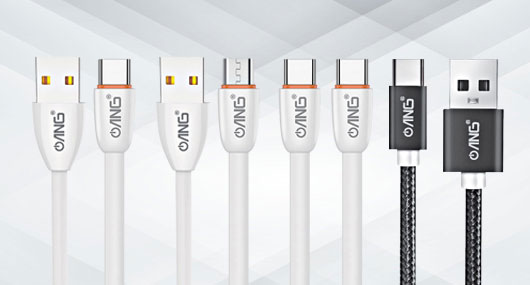
Connectivity is key in the digital world, and our selection of cables and adapters ensures seamless connections across various devices. We offer a range of USB cables, HDMI cables, audio cables, and adapters to support data transfer, charging, and audio-visual needs. With reliable and durable options, you can provide your customers with the connectivity solutions they require.
Protecting and maintaining device screens is essential for their longevity. Our screen protectors offer high-quality protection against scratches, fingerprints, and smudges, keeping screens crystal clear. Additionally, our cleaning kits provide the necessary tools to keep devices clean and free from dirt and grime, ensuring a pristine display.
We offer an extensive range of wholesale products, carefully curated to meet the demands of the ever-evolving electronics market. From trendy phone cases and screen protectors to cutting-edge electronic gadgets and laptop accessories, our catalogue is filled with top-quality products that are guaranteed to impress your customers.
Quality is our top priority. We understand the importance of providing products that meet high standards, ensuring customer satisfaction, and building long-lasting business relationships. Our products undergo rigorous quality checks to ensure they meet or exceed industry standards, giving you peace of mind and confidence in every purchase.
At iShine Trade, we believe that wholesale prices should be both competitive and fair. We strive to offer attractive pricing options that allow you to maximize your profits while offering great value to your customers. Take advantage of our cheapest mobile accessories wholesale in London and unlock the potential for a successful and profitable business venture.
We are committed to providing exceptional customer service and support. Our dedicated team is always ready to assist you with inquiries, concerns, or product-related assistance. From prompt order processing to efficient shipping, we ensure a hassle-free experience that keeps your business running smoothly.
Being the best mobile phone accessories distributor, we stay up-to-date with the latest trends and innovations in the electronics industry. Our team constantly explores new products and collaborates with trusted suppliers to bring you cutting-edge accessories and gadgets. By partnering with iShine Trade, you can offer your customers the latest and most sought-after products in the market.
Our user-friendly website and streamlined ordering process allow you to browse our extensive catalogue, place orders, and track shipments conveniently. With just a few clicks, you can quickly and effortlessly stock up on the products you need, saving you time and effort. The experience separates us from other mobile accessories wholesale dealers.
Whether you are a wholesale mobile phone supplier in UK, run a retail store, an online business of , provide repair services, or even mobile phone accessories wholesalers, iShine Trade is your trusted wholesale partner in UK. Our commitment to quality, reliability, and customer satisfaction sets us apart, ensuring that you receive the best products and services in the industry.
Join us today and explore the world of high-quality electronic accessories and gadgets at wholesale prices. Together, let's shine brighter and excel in the electronics market. Contact us to discuss your wholesale needs, or start browsing our catalogue now.